Thinking about making the switch to solar energy
With energy prices fluctuating and a growing awareness of our environmental footprint, many homeowners across the UK are looking at their roofs and wondering if they could be doing more. The idea of generating your own electricity is incredibly appealing, but the actual process of getting from a standard roof to a fully functioning power plant can feel a bit mysterious. It is not just about sticking some glass panels on the tiles; it is a coordinated effort involving structural checks, electrical expertise, and a bit of paperwork to make sure everything is legal and safe.
Deciding to go ahead with Solar panel installation is a significant investment, but it is one that pays off over time through reduced bills and a smaller carbon footprint. However, before the scaffolding goes up, there are several things you need to understand about how the technology works in our specific climate and what the installers will actually be doing while they are perched on your roof.
Making sure your roof is ready for the change
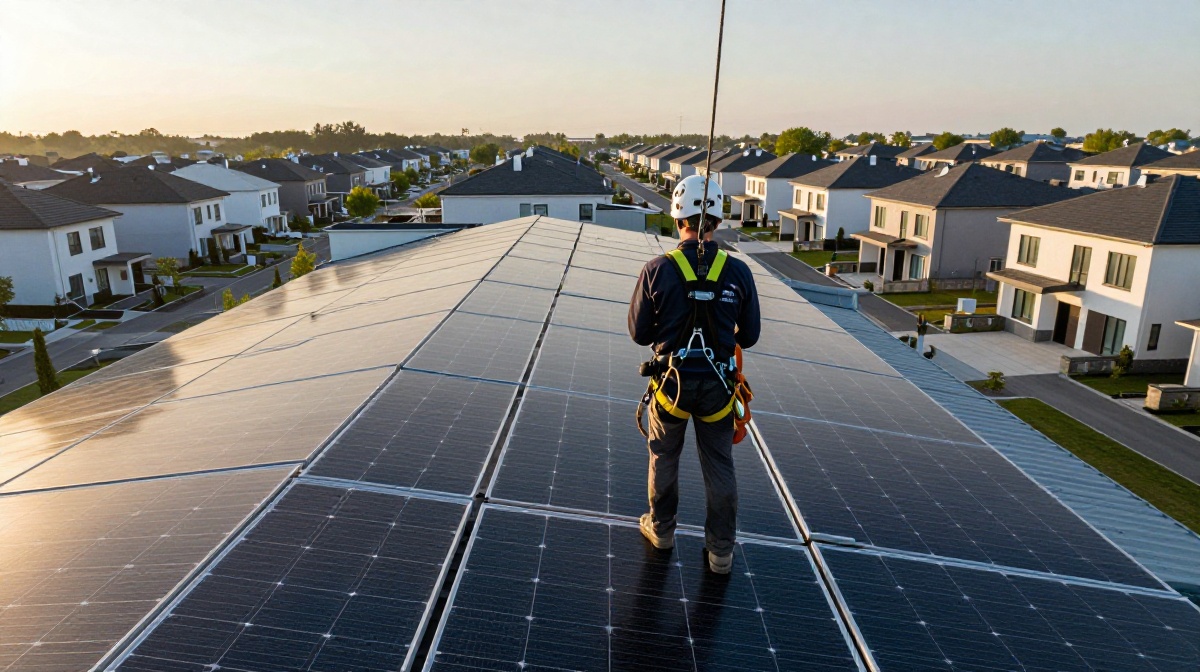
The first step in any successful project is a thorough assessment. Not every roof is immediately ready for solar panels. An installer will need to look at the orientation, the angle, and the physical condition of your roof. In the UK, south-facing roofs are the gold standard because they catch the most sunlight throughout the day, but east and west-facing roofs are also very effective, often providing a good balance of energy in the morning and late afternoon.
There are a few specific factors that can influence how well your system performs:
- Shading: Even a small amount of shade from a chimney, a nearby tree, or a neighbour’s house can significantly drop the output of a solar array.
- Roof Age: If your roof needs replacing in the next five years, it is usually better to do that work before or during the installation.
- Structural Integrity: Solar panels are not incredibly heavy, but they do add weight and wind load. A professional surveyor will ensure your rafters can handle the extra pressure.
- Available Space: You need enough clear space to fit enough panels to make the system cost-effective, usually around 10 to 20 square metres for a standard domestic setup.
The step by step process of solar panel installation
Once the surveys are done and you have chosen your kit, the actual physical work begins. Most people are surprised by how quickly the installation itself happens; for a standard semi-detached or detached home, the work is often completed in just one or two days, provided the weather stays relatively dry.
Setting the stage with scaffolding
Safety is the priority, so the first thing you will see is scaffolding being erected around your home. This gives the installers a secure platform to work from and ensures they can move the panels onto the roof without risk. It might be a bit of an eyesore for a few days, but it is an essential part of the process that allows the team to work efficiently and safely.
Fixing the mounting system
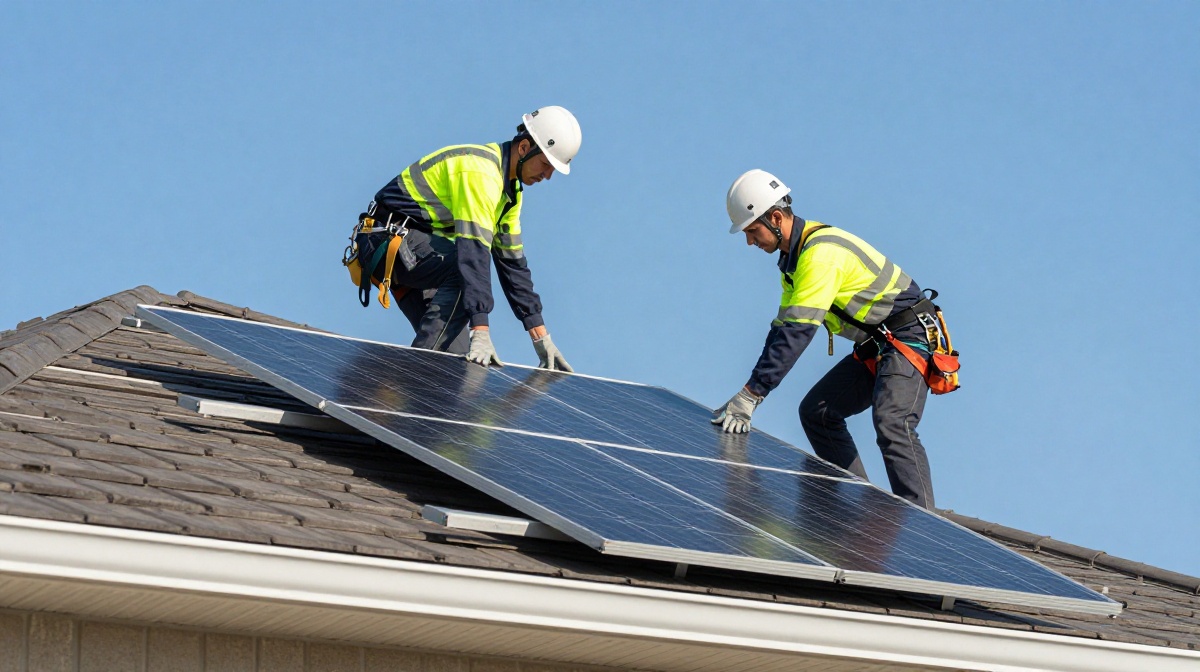
Instead of drilling directly through your tiles, installers use a specialised mounting system. They will lift certain tiles to reach the rafters and screw in heavy-duty roof hooks. A series of aluminium rails are then bolted to these hooks. This creates a level, secure frame that sits just above your tiles, allowing air to circulate behind the panels, which actually helps keep them cool and working more efficiently.
Installing the panels and wiring
With the rails in place, the panels are lifted up and clamped firmly onto the frame. Each panel is connected to the next in a ‘string.’ The wiring is tucked neatly under the panels and fed through a weather-proof entry point into your loft space. This is where the DC (direct current) electricity generated by the sun begins its journey into your home.
Why the inverter is the brain of the system
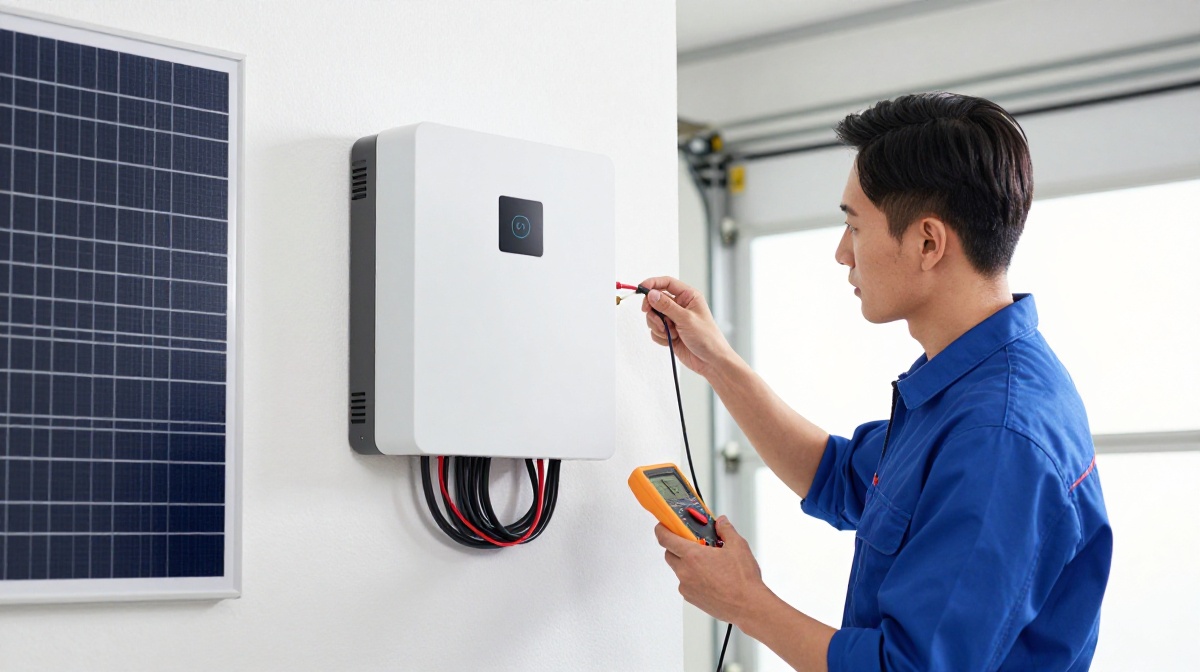
The panels get all the glory, but the inverter is arguably the most important component of your solar panel installation. Solar panels produce DC electricity, but your home appliances and the National Grid run on AC (alternating current). The inverter’s job is to convert that energy so you can actually use it.
Inverters are usually installed in the loft or a utility room. Modern ‘smart’ inverters do much more than just convert power; they monitor the performance of each panel and provide data to an app on your phone. This allows you to see exactly how much energy you are generating in real-time, helping you decide when to run the washing machine or dishwasher to make the most of your free, home-grown power.
Maximising your investment with battery storage
While not strictly required, many homeowners are now opting to include a battery storage system as part of their setup. Without a battery, any electricity you generate but do not use immediately is sent back to the grid. While you can get paid for this through the Smart Export Guarantee (SEG), the rate you receive is usually much lower than the rate you pay to buy electricity back at night.
A battery allows you to store that excess daytime energy and use it in the evening. This can significantly increase your ‘self-consumption’ rate, meaning you rely even less on the grid and save more money on your monthly bills. It is a fantastic way to make the system work harder for you, especially during the shorter days of winter when every watt counts.
Handling the paperwork and grid connections
There is a bit of administrative work that happens behind the scenes. Your installer should be MCS (Microgeneration Certification Scheme) accredited. This certification is vital because it proves the equipment and the installation meet high quality and safety standards. Furthermore, you usually need an MCS certificate to apply for export payments from your energy supplier.
Your installer will also handle the ‘DNO’ (Distribution Network Operator) notification. This is basically telling the people who manage the local power lines that you have a solar system. In some cases, if you are installing a very large system, you might need permission before you start, but for most standard domestic installations, it is a simple notification sent after the work is finished.
Looking after your panels once they are up
One of the best things about solar energy is that it is incredibly low maintenance. Because there are no moving parts, there is very little that can go wrong. In the UK, our frequent rain actually does a pretty good job of keeping the panels clean by washing away dust and bird droppings. However, it is a good idea to have them professionally cleaned or at least inspected every few years to ensure no debris has built up in the corners.
Most systems come with robust warranties—often 25 years for the panels themselves and 5 to 10 years for the inverter. Keeping an eye on your monitoring app is the best way to ensure everything is running as it should. If you notice a sudden drop in production that isn’t explained by a very cloudy day, you can catch the issue early and get it sorted under warranty. This proactive approach ensures your home continues to be as energy-efficient as possible for decades to come.

Grace Hamilton is an experienced tech journalist with a passion for exploring innovations in cloud computing and media solutions. Her work centers on breaking down technical concepts, offering best practices, and keeping readers informed about the latest trends in secure digital hosting.